RISC PC Battery replacement
Posted on Saturday, January 12, 2019 by TheBlackzone
![]() As you may have seen from my previous posts, I am currently tinkering with my old Acorn RISC PC. Yesterday I was in for an unpleasant surprise when I disassembled the whole machine in order to clean it from the dust...
As you may have seen from my previous posts, I am currently tinkering with my old Acorn RISC PC. Yesterday I was in for an unpleasant surprise when I disassembled the whole machine in order to clean it from the dust...
Once I had dug down all the way to the base plate with the mainboard, I saw this:
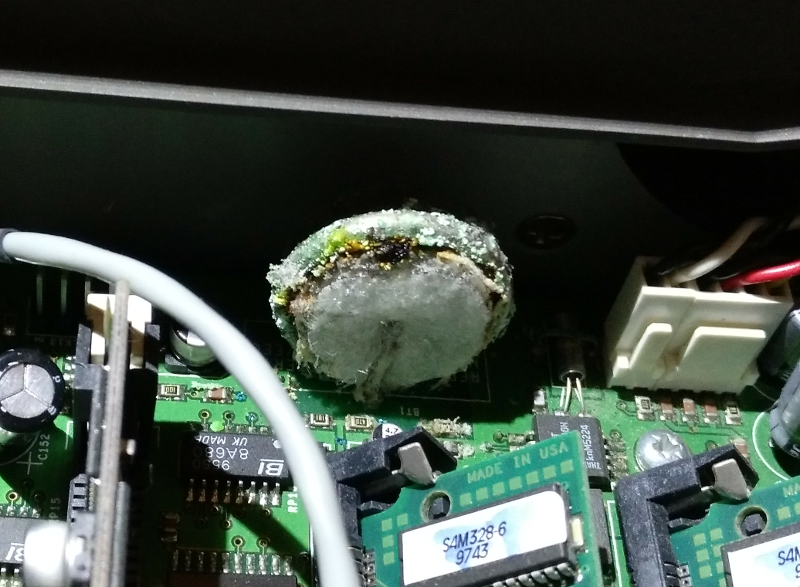
Yes, ladies and gentlemen, that's the battery! And the interesting part is: it still works. It had kept all settings and the clock alive to this day. Anyways, instead of just doing some cleaning with compressed air, I had to remove this thing immediately
Initially when I saw the condition of the battery, I started sweating. Leaked batteries have devastating consequences for the mainboard circuits and components. But since the RISC PC was still working after all that time I was confident that there had been no serious damage so far.
And in fact, as it turned out, there were was just a few spots of corrosion below the battery and on the nearby SMD diodes. No further damage on the PCB. Phew!
I desoldered the battery, which is a VARTA V280H. After researching the battery's specifications on the internet, I found that this is a 1.2 V NiMH rechargeable battery. This information was especially important since it cannot be directly replaced with a standard battery (which might explode due to the charging current).
The VARTA V280H is no longer manufactured and although some distributors have listed the VARTA CP300H and V350H as drop-in replacements, I didn't bother about these since I'm not a fan of PCB-mounted batteries anyway. Instead I wanted to go for a separate battery holder with an industrial type AA cell.
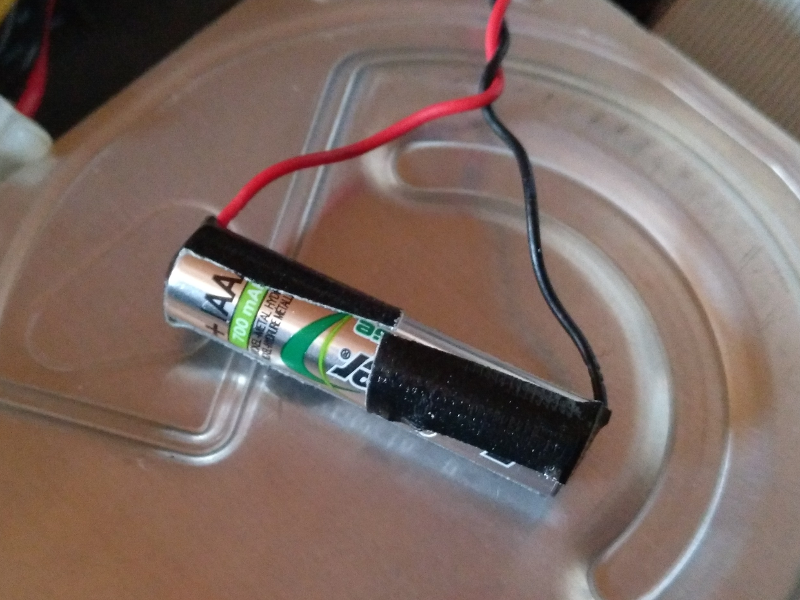
So I soldered a pair of wires to the the PCB where the battery was placed and as a preliminary fix, taped a standard 1.2 V rechargeable AAA battery to the end of the wires. This already worked, but of course was just a makeshift.
Fast forward two weeks later. I had ordered the replacement parts online and finally had some time to finish the work. I soldered the new battery holder to the existing wires and plugged in the new battery (which already came loaded at full capacity).
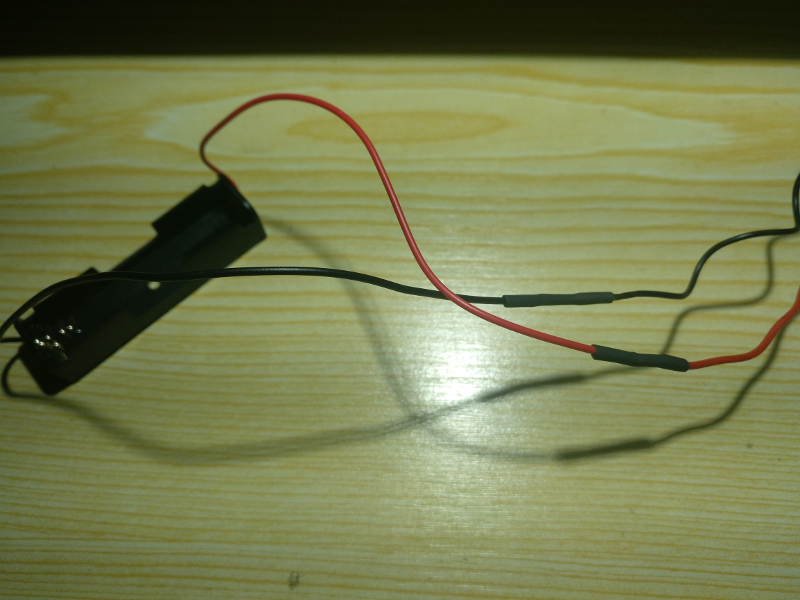
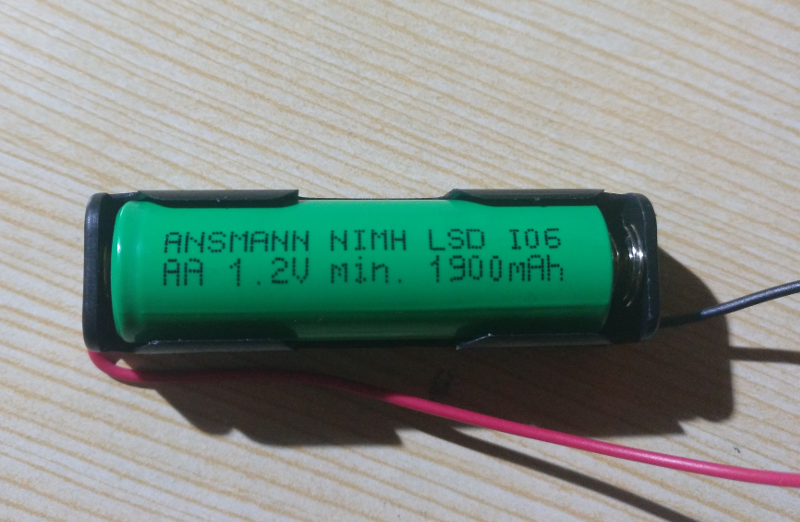
The case of the RISC PC has a nice compartment on the front side where I decided to put the battery. Should the replacement battery ever happen to leak, this is an ideal spot as the compartment is like a tub, preventing any leaked material from getting to the main area. Two cable ties fixed the battery in place.
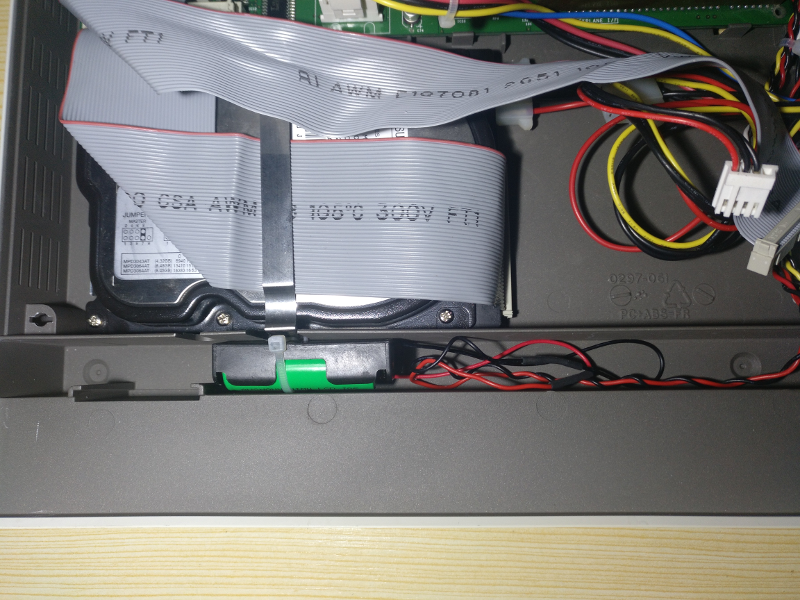
Job done.
I had immense luck that there had been no damage to the mainboard and so this was an easy fix. We will see how well it will go with some other candidates that are on my list of items to be fixed.


