Replacing the battery of my Samsung Galaxy Tab 2
Posted on Friday, January 18, 2019 by TheBlackzone
Recently, the battery of my trusty old Samsung Galaxy Tab 2 (GT-P5100) has become weaker and charging cycles took longer. Buy a new tablet? Of course not! If you check your favorite video platform, you will find plenty of videos, showing you how easy it is to replace the internal battery. So let's go ahead...
I ordered a suitable replacement battery for the GT-P5100 online, which cost me around 20 Euros. I was a little confused at first as there were a couple of batteries, that all claimed to be suitable for a "Samsung Galaxy Tab 2" but came at vastly different prices. For whatever reason, some of these batteries did not have the GT-P5100 in their compatibility list, so I double checked for the exact model number in order to make sure that I will really receive the right one.
A few days later, the battery arrived and I watched some videos on how to disassemble the device. This is actually quite easy. The cover is held by plastic pins around the display that can be lifted with a spudger or small pry tool. If you watch a professional repair guy opening this thing, it will only take a couple of seconds. However, I have never done something like this and was extra cautious, especial around the area of the power connector, headphone jack and card slots. It took me a couple of minutes to open it, but finally...
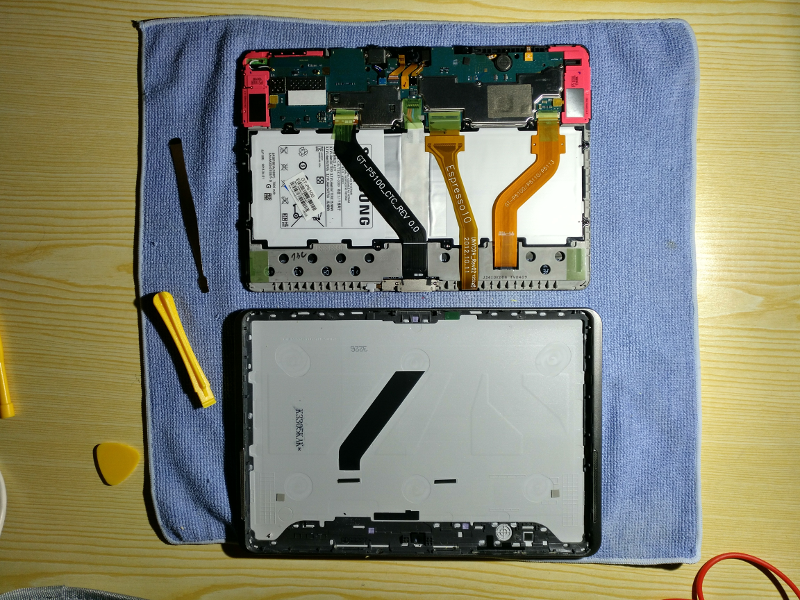
Next was to remove the securing tape stripes from the ribbon cables (which must be kept to reattach them when assembling again), open the ribbon cable connectors and unplug the ribbon cables. Again, I was very cautious, especial when opening the connectors. A while ago I had ruined such a connector in a laptop when I thoughtlessly applied to much force to it.
After removing the ten screws holding the battery in place, I could unplug the old battery by gently lifting the connector from below with a plastic spudger.
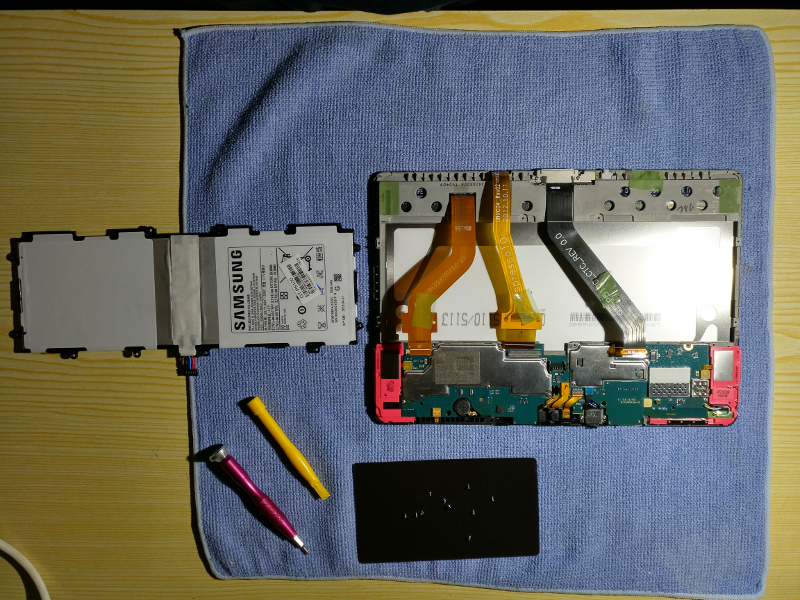
The remaining work was easy. Putting in the new battery, connect the battery plug and fixing the battery with the screws. When it comes to reconnecting the ribbon cables, here is something to watch out for: The ribbon cables and the PCB in front of the connectors have a horizontal line printed onto them. When the cable is plugged into the connector, these lines need to be aligned before closing the connector hinge. Otherwise there will be no connection!
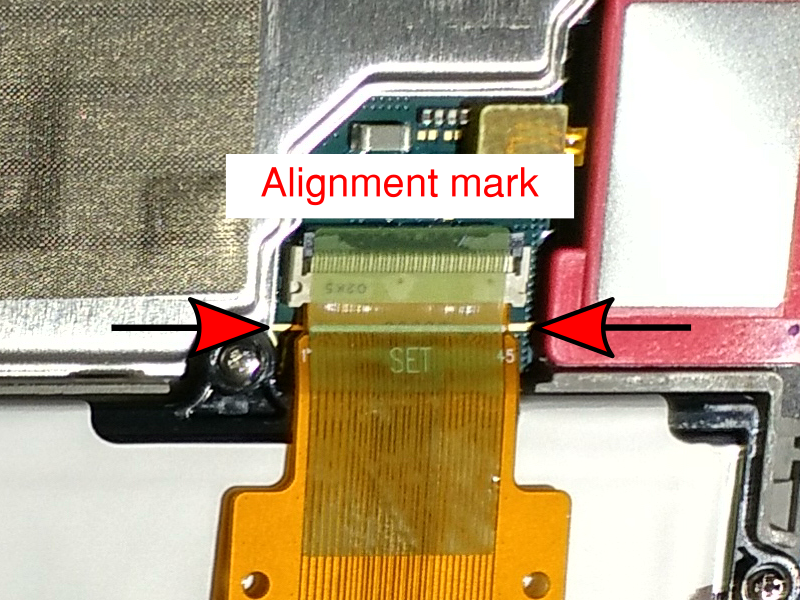
After making sure that this is the case, I finally attached the securing tape stripes again.
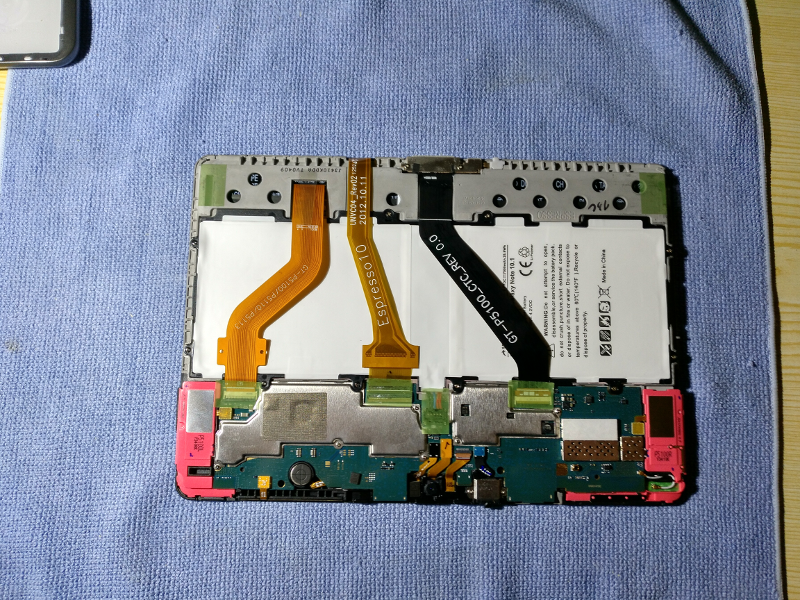
Before putting the lid back on, I switched the tablet on to make sure everything works fine. That being the case, I put the lid back on and gently applied pressure around the border to snap it back in. Finally, with everything finished, I switched the tablet on and checked that everything works okay.
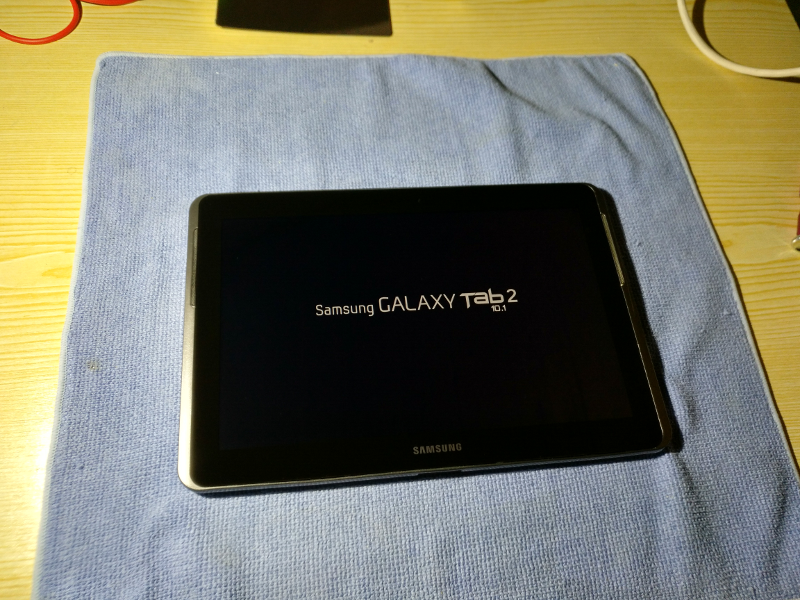
What was left, was to charge the new battery to its full capacity.
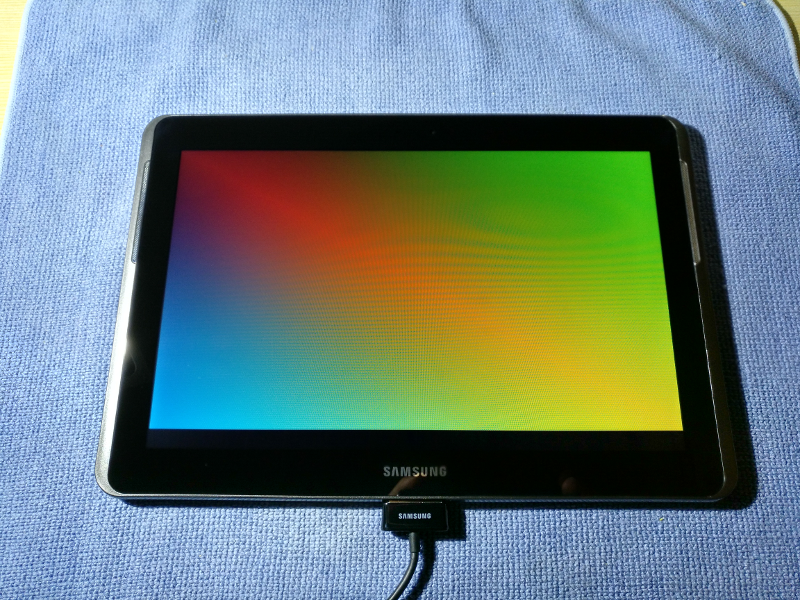
In hindsight I can say that it was much easier than I had expected, mainly thanks to the experience of others, who showed how it works in instructional videos. Without these, I am pretty sure to have damaged something or ruined the tablet entirely.
Tags: misc


